Set Clinical Preferences
The Set Life Sciences Preferences command automatically adjusts preferences in JMP to those most suitable, and in some cases necessary, for JMP Clinical reports. Specifically, it:
|
•
|
Shows the JMP Window List automatically upon launching |
|
•
|
Prevents the Tip of the Day from showing upon launching |
|
•
|
Saves text files as non-Unicode |
|
•
|
Uses Tab as the end-of-field delimiter for importing and exporting text data files, and exports table headers |
|
•
|
Avoids using Greek letters or math symbols |
|
•
|
Preserves the SAS File Type |
|
•
|
Uses labels when importing SAS Integration Settings |
|
•
|
Avoids auto-hiding menus |
|
•
|
Shows all JMP windows within the JMP taskbar |
|
•
|
Defines several Clinical color themes |
After you execute this command, a message confirms that JMP Clinical preferences have been set.
Important: You are strongly advised to set preferences for JMP Clinical using this command, and not change them further. However, you can make additional adjustments at your own risk, through the File > Preferences menu.
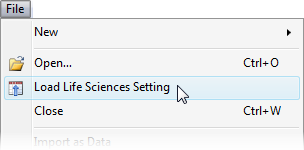
To Load a Life Sciences Setting:
|
8
|
Click Load Life Sciences Setting. |

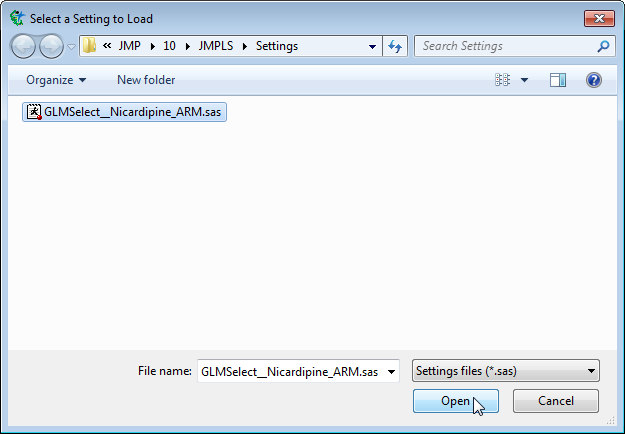
A Select a Setting to Load window appears.
|
8
|
Navigate to a setting file. |

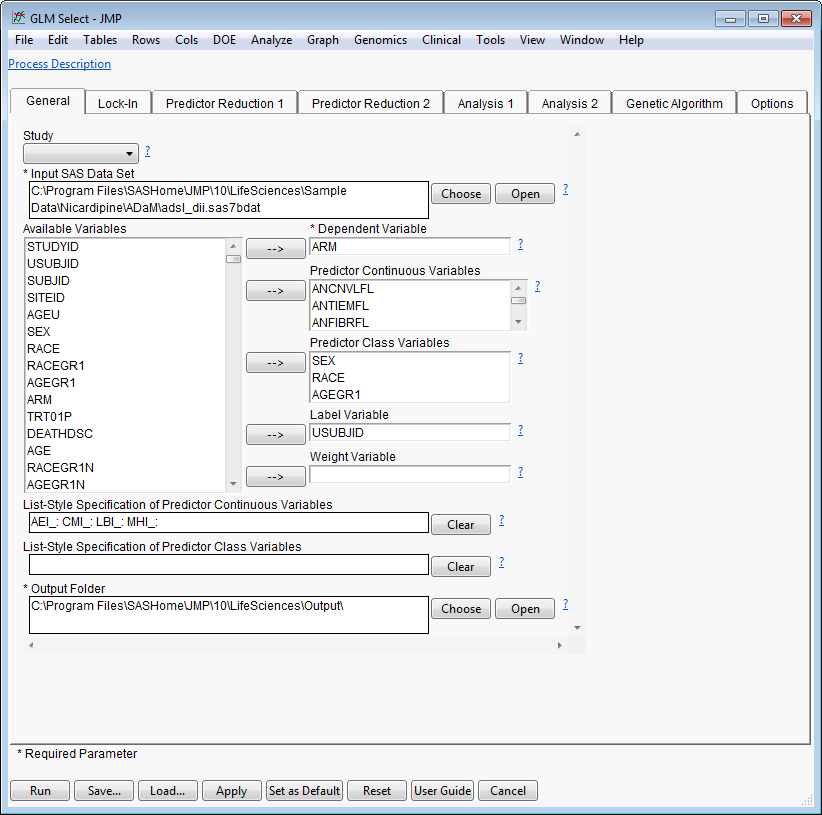
The relevant report dialog is automatically surfaced and populated with the information contained in the setting.

You are free to make additional changes to dialog parameters (and save them to new or existing setting files) before running the reports.


