Additional Examples of Platform Presets
In this example, you use a Platform Preset to create a report ready for presentations or sharing with your team and then save the results as a graphic.
Create the Report and apply the Preset
1. Select Help > Sample Data Folder and open Big Class.jmp.
2. Select the Oneway green arrow.
3. Click the Preset button in the Oneway Analysis of height By sex menu bar.
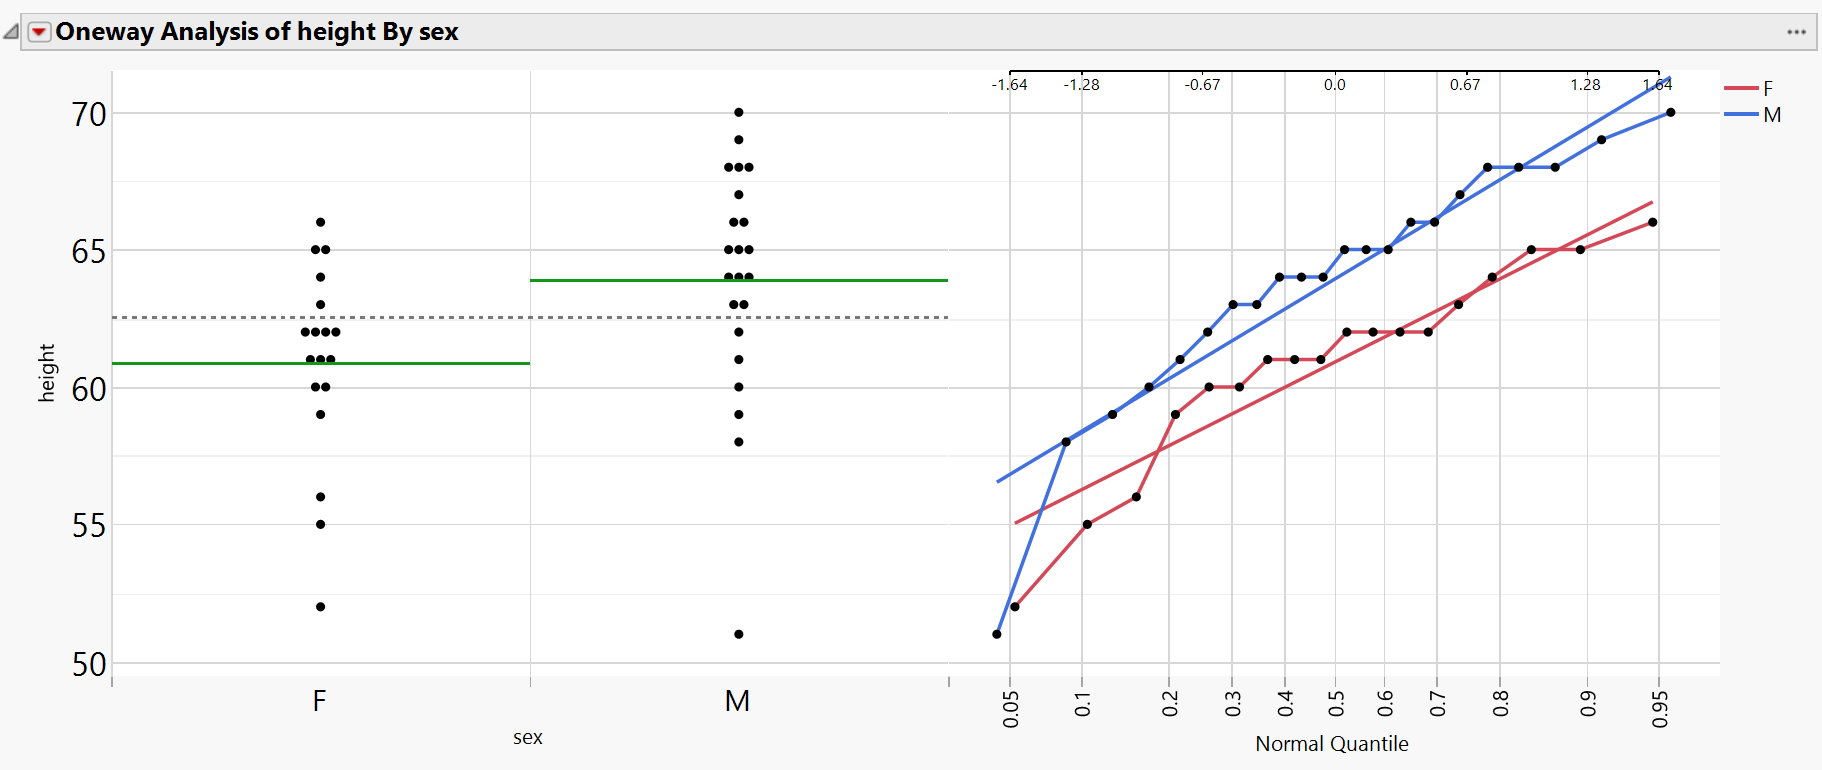
4. Select Sample Presets > Presentation Normality.
Figure 10.7 Example of a Platform Preset for Presentations
Save the Report as a Graphic
JMP also offers a variety of tools for saving and sharing your reports. For more information about other ways to save and share reports, see “Save and Share Your Data”. This example saves the report as a graphic.
1. Click the selection tool (![]() ).
).
2. Highlight the entire report area by clicking on the Oneway Analysis of height By sex menu.
3. On Windows, select Edit > Save Selection As. On macOS, press Control and select File > Save Selection As.
The Save Selection As window appears (or the Save window on macOS).
4. Click Save.
