Example of Creating a Workflow from the Log History
A workflow can be started at any point during a JMP session. In this example, add steps from the log history to a workflow. Start with a new JMP session.
1. Select Help > Sample Data Folder and open Iris.jmp.
2. Select Graph > Graph Builder.
3. Select Sepal length and drag to the X zone.
4. Select Sepal width and drag to the Y zone.
5. Click Done.
6. Close Graph Builder.
7. Select File > New > Workflow.
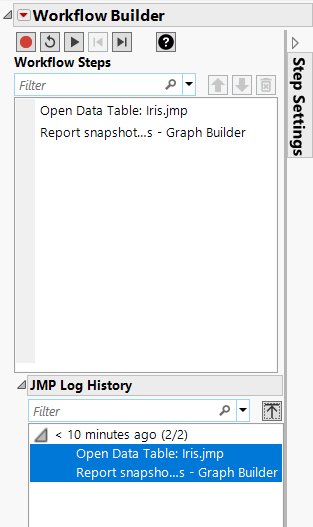
In the JMP Log History, all the steps you have performed since you opened your JMP session are captured.
8. Select the Graph Builder steps that you want to add to your workflow.
Figure 13.7 Selecting Steps in Workflow Builder
9. Click ![]() to move the steps up.
to move the steps up.
10. Click ![]() to test the workflow.
to test the workflow.
Want more information? Have questions? Get answers in the JMP User Community (community.jmp.com).
