Share Data to JMP Live
1. Open a data table in JMP.
2. Select File > Publish > Publish Data to JMP Live.
– If you have not added a JMP Live server connection, add one now. See Add a Connection to a JMP Live Server.
– You might need to sign in to JMP Live.
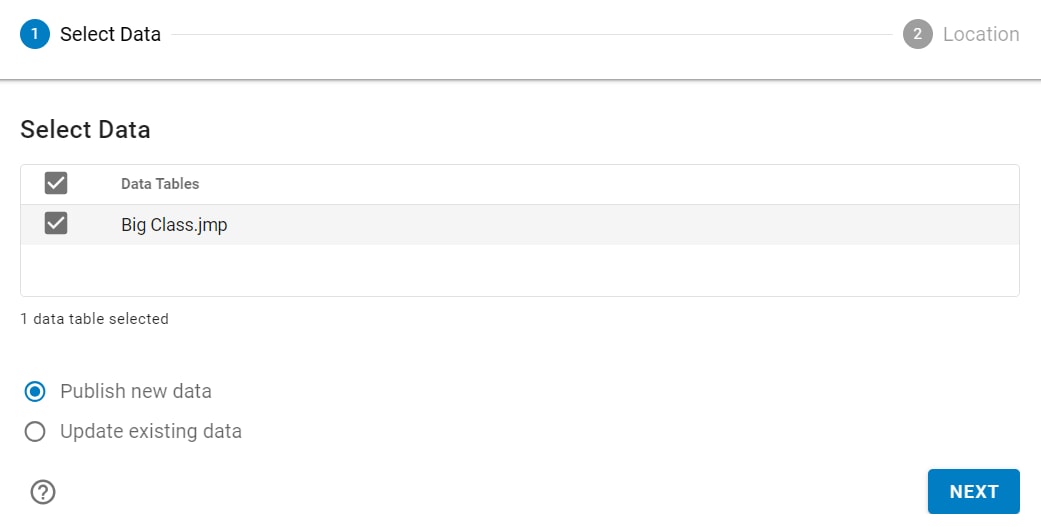
Figure 11.14 Select the Data
Tip: To choose all open data tables, select the Data Tables box.
3. Choose what you want to do:
4. Click Next.
Publish New Data
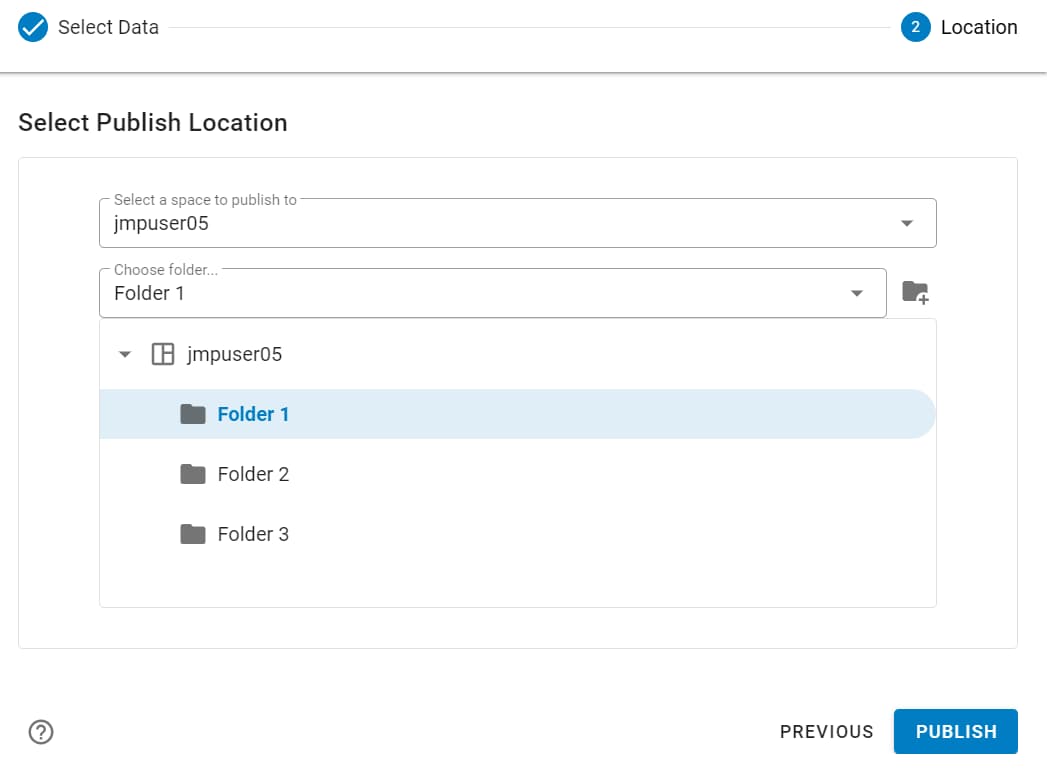
Figure 11.15 Select Where to Publish the Data
1. Select a space from the list or enter text to find a space that you want to publish your data to.
Note: You see only spaces that you have permission to publish to.
2. Select an existing folder from the list or enter text to find the folder where you want to publish your data.
Note: You see only folders that you have permission to publish to.
Tip: To create a new folder, click the space or folder where you want to create the folder and click Create folder  .
.
3. Click Publish.
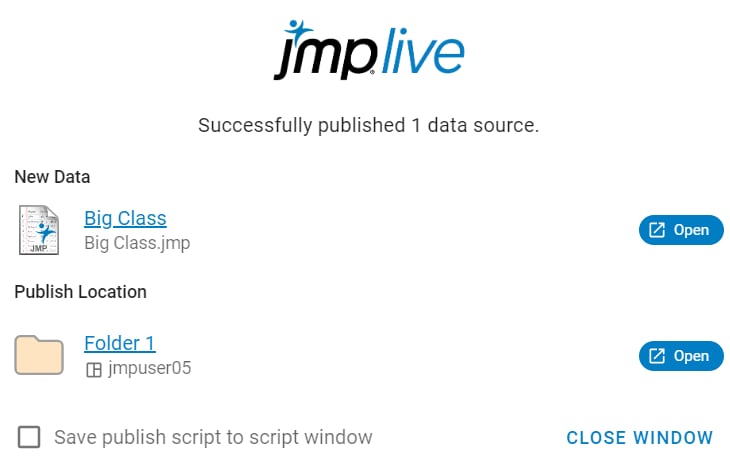
Figure 11.16 Publish Status for a New Data Table
4. (Optional) To save your process as a JSL script, select Save publish script to script window.
5. Click an Open link to launch JMP Live, or click Close Window.
Figure 11.17 Published Data File in JMP Live
Note: Who can see your post depends on space and folder permissions. See the JMP Live Help.
Update Existing Data
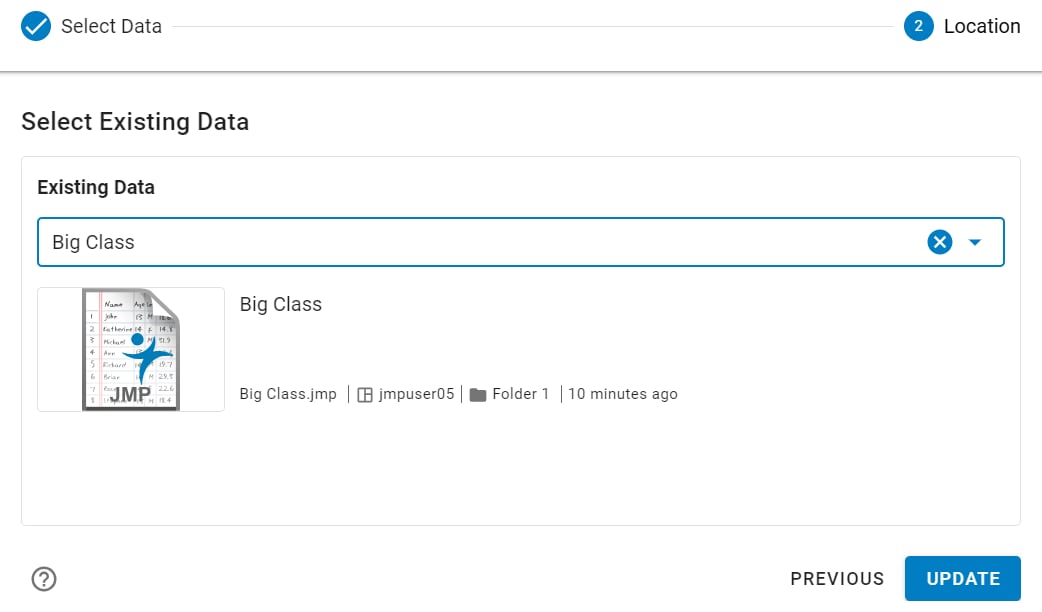
Figure 11.18 Select an Existing Data Table
Note: You see only data tables that you have permission to update.
1. Select a data table from the list or enter text to find a table.
2. Click Update.
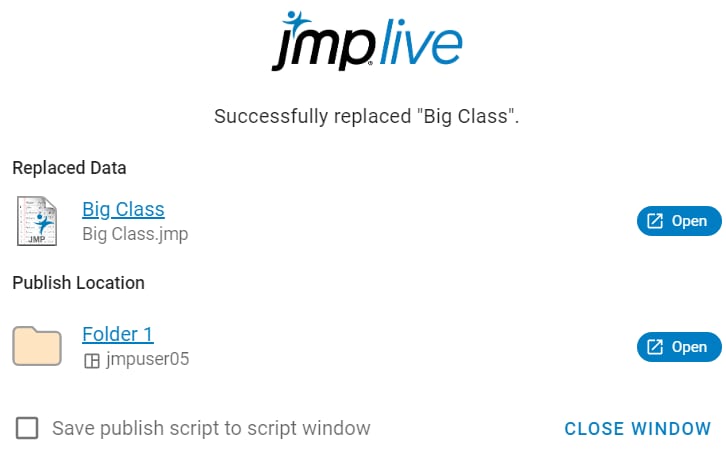
Figure 11.19 Publish Status for Updating a Data Table
3. (Optional, JMP Live only) To save your process as a JSL script, select Save publish script to script window.
4. Click a link to open JMP Live, or click Close Window.
Figure 11.20 Published Data File in JMP Live
Note: Who can see your post depends on space and folder permissions. See the JMP Live Help.
JMP Live and JMP Public Help
From JMP Live or JMP Public, you can access help by clicking  > Help.
